Sauerkraut is not something I think of making or even eating on a regular basis. It's something that I reserve in my mind for Oktoberfest or those random days I find myself in a German restaurant and order it because it's the only thing I know how to pronounce. Honestly, I think I decided to make it because my CSA gave me a head of cabbage and I'm not a big cabbage eater but in retrospect I think I am secretly hoping that it comes out just right and reminds me of the month I spent with my Dad in Germany when I was 12 and he introduced me to German hotdogs or bratwurst.
The good news is that it has to ferment for up to 10 days so I have the time to search for the perfect bratwurst to serve with it. I even have time to make some home made mustard to go with it! The bad news? I have to let it ferment on my counter in the open air for up to 10 days! How in the world am I going resist the temptation to chuck it in the garbage when it starts to stink like.....well......cabbage? I try to keep a very clean kitchen and the idea of allowing something to ferment on my counter to encourage the growth of bacteria is seriously freaking me out!
I guess I just need to keep in mind that the bacteria I am encouraging are ones that will ultimately add to the good bacteria in the gut that aid in digestion, immunity and general well being. Here goes!

Day 1 : 3 lbs of shredded cabbage, 1 1/2 heaping Tbsp of Kosher salt and 1/3 c caraway seeds. Mash with your hands, potato masher or rolling pin.
Day 1 : One head of cabbage, some salt and some caraway seeds all mashed together in a big mixing bowl. Liquids are pressed out and the wet shredded cabbage mixture is pressed down in a pot with a plate and my handy panini press (which BTW, I have never pressed a panini with). Now all I have to do is get over the fear of growing bacteria in my food on my counter for up to 10 days!
Day 2 : Not enough liquid was pressed out in the 24 hours since I started so I added salt water (prescribed by the book's author) to cover the cabbage and left it to sit on my counter. It's starting to smell like fermenting cabbage. I'm a little scared.
Day 3 : Just tasted it and it still tastes like cabbage albeit salty and has the consistency of coleslaw. The fermentation smell is not as bad and a little vinegar-y. The water released from the cabbage and added on day 2 is a little brown and bubbles are popping up here and there. My husband is getting wary of the stinky cabbage fermenting on the counter. If this fails I will never hear the end of it!

Day 1 : Place in a large wide mouthed vessel, press down with a plate and weight. Cover with a clean dish towel. and allow ti sit in a cool spot in the kitchen. Let the fermenting begin!
Day 7 : It's finally starting to smell and taste like sauerkraut! Thank you food gods! I think I'm going to let it ferment for another couple of days since it still tastes more like cabbage than kraut right now but I'm glad it's starting to come around!
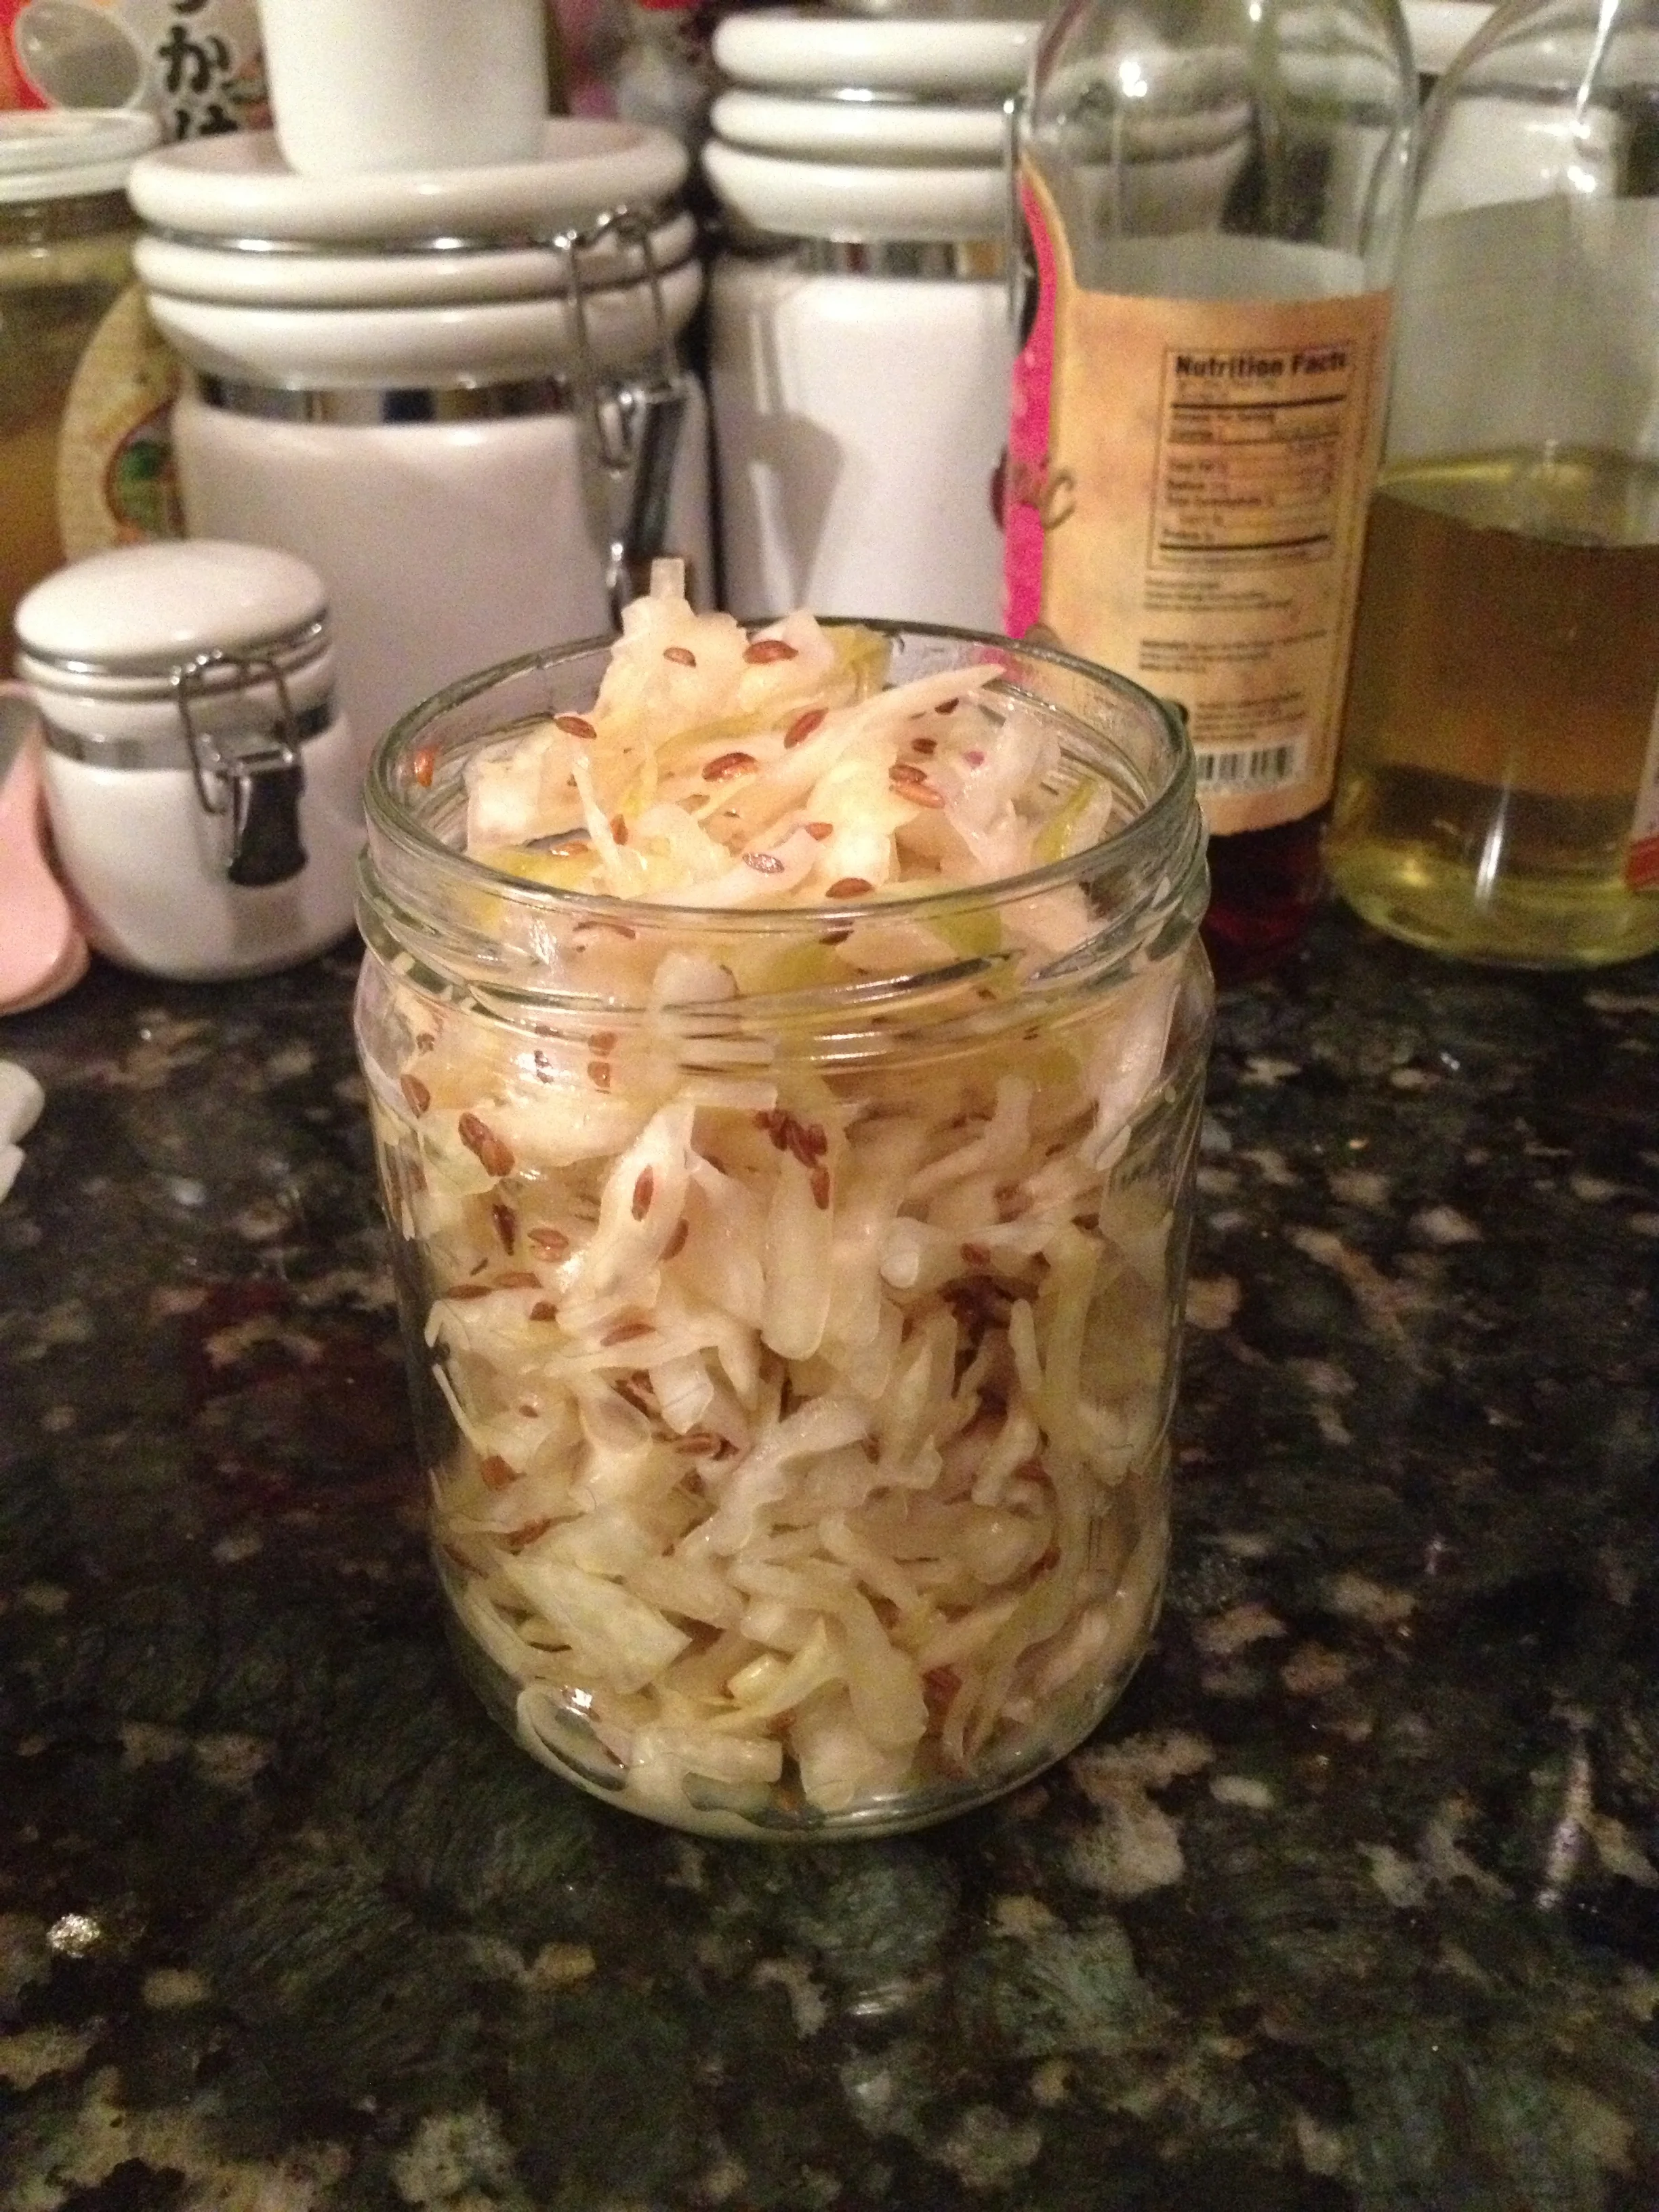
10 Days Later - Sauerkraut!
Days 8-10: THE WAITING GAME. Thank God for a busy schedule! I just let it sit and only checked to be sure it was still submerged in liquid. I have to admit, when I finally tasted the finished product I was surprised! While it didn't taste quite like Germany circa 1987 or '88 with my Dad it did come in a pretty close second and tasted great with the farm fresh bratwurst I ordered from my CSA's monthly "extras" order. Now on to the sweet and spicy mustard!

....with farm fresh bratwurst!